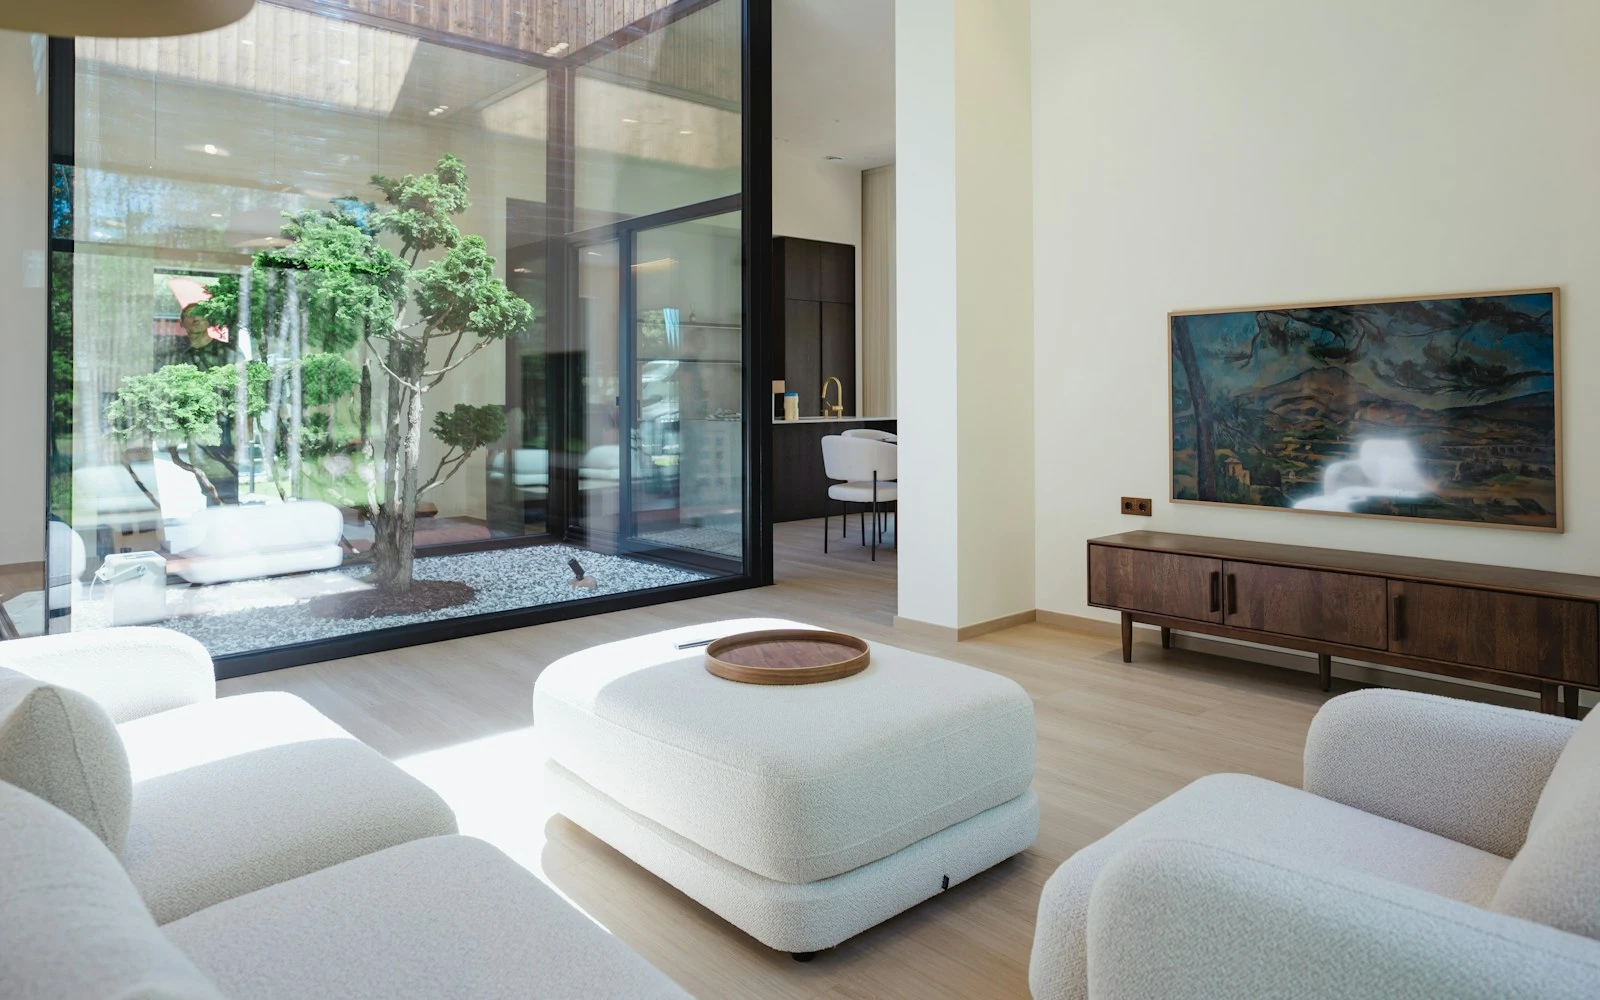
How Melbourne developers use photorealistic rendering before construction
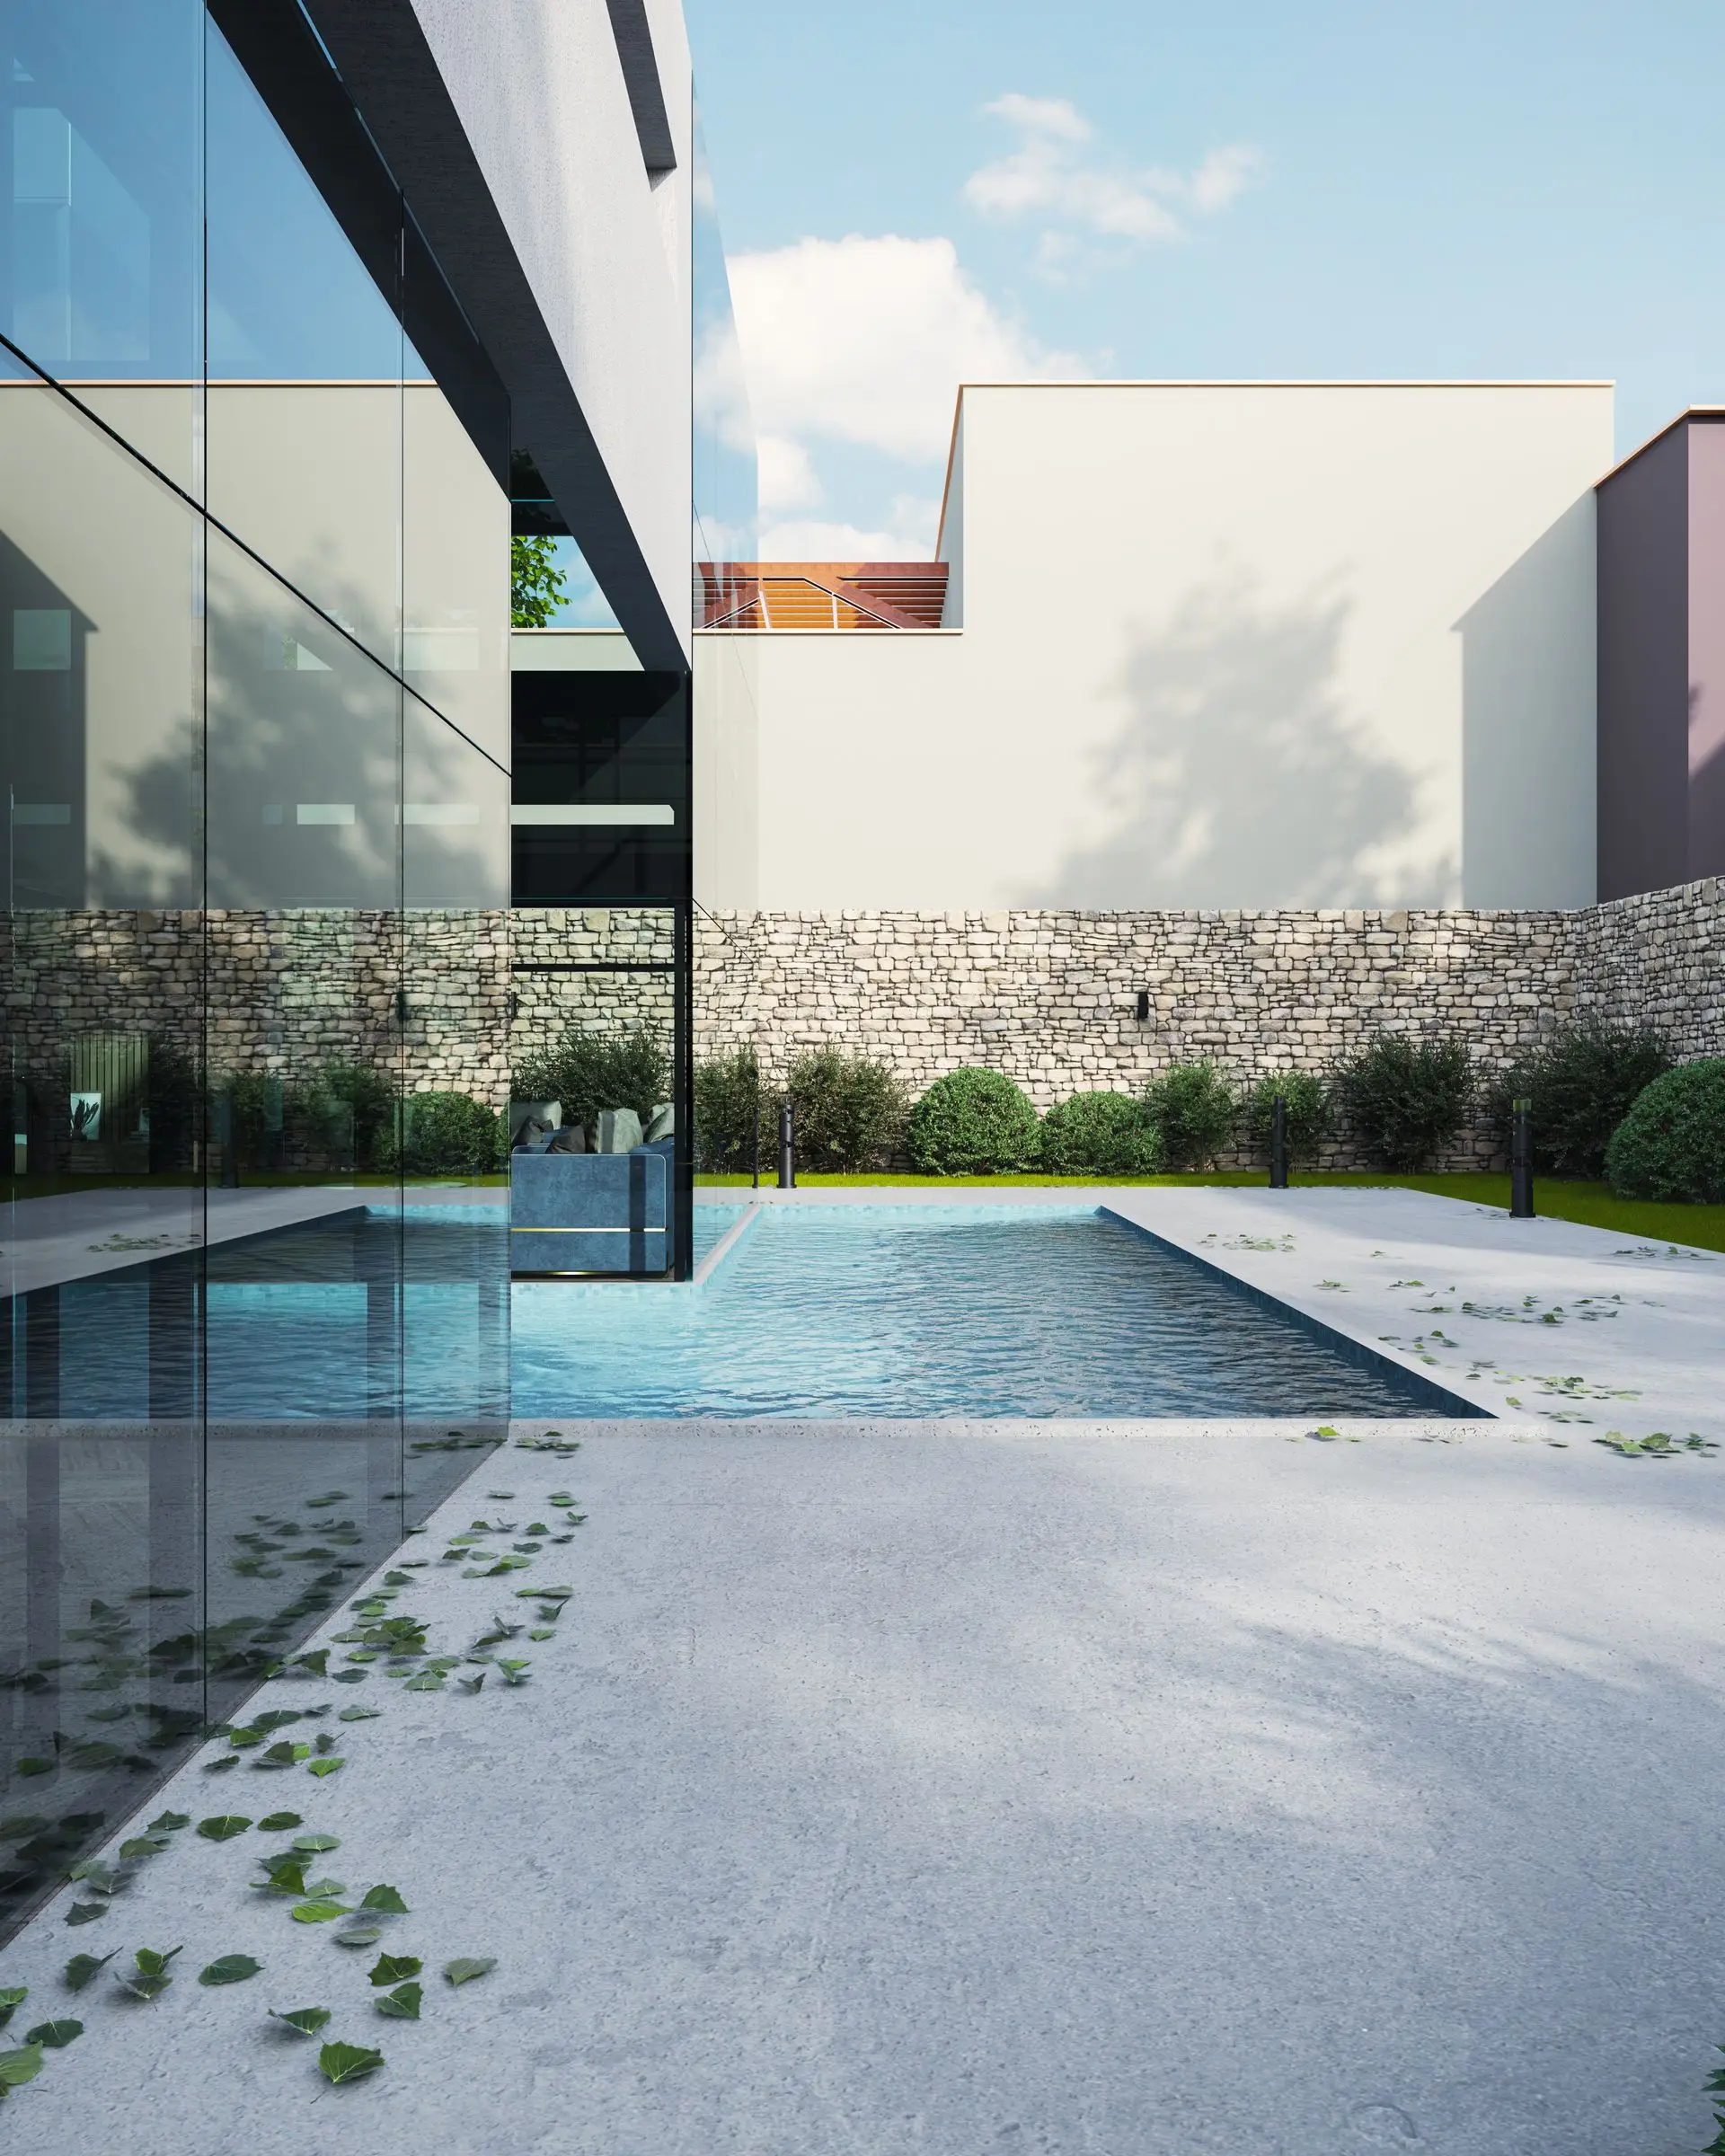
Two renders of the same building can be equally attractive and only one of them can be trusted. The difference sits in the material definitions, the light data, the geometry and the camera, and it usually surfaces months later, when the brick arrives two tones lighter than the image.
Developers routinely need to secure decisions before a project physically exists, while it is still represented by drawings and technical documents that a non-technical audience cannot read as a finished building. Photorealistic rendering Melbourne project teams commission closes that gap, but only when the image is accurate. An image that overstates a finish becomes a variation argument on site and a credibility problem with everyone who saw it. This article covers the pre-construction use cases that justify the spend, what photorealism means technically, how Melbourne light and orientation change the answer, and a checklist to apply before you sign off.
If you need renders for one specific purpose, three pages cover that intent directly: 3D renders for builders in Melbourne for tender pricing and site coordination, 3D renders for property developers in Melbourne for approvals, funding and pre-sales, and 3D renders for real estate in Melbourne for listings and campaigns.
>>> Learn more about the risk of cheap architectural renders
Why developers need stronger visual communication before construction
Developers make high-stakes decisions while the project is still abstract, and the friction is consistent: Buyers cannot picture a finished home from plans and elevations, investors need confidence in the proposition before committing, consultants read the same documents differently, planning stakeholders need to understand massing and streetscape impact, sales teams need assets before construction starts, and clients approve materials without ever experiencing them in context, which drives late change.
This matters more in Melbourne than in most Australian markets: Dense inner-suburban settings, buyers who scrutinise lifestyle, finishes and local character, a mix of apartments, townhouses, heritage-sensitive works and premium residential, and an off-the-plan presentation standard that is already high.
Where photorealistic rendering earns its place before construction
Testing the project story
Photorealistic rendering Melbourne developers commission early lets them clarify the proposition before it reaches marketing: Who the project is designed for, what design quality or lifestyle it offers, how it differs from competing developments, which views and features should lead the sales narrative, and how architecture, landscape and interiors work together. If the design story is not clear in the render, it will not be clear to a buyer.
Planning and stakeholder communication
Exterior views, streetscape images and contextual photomontages help stakeholders read a proposal in planning presentations, consultant workshops, community consultation, design review meetings and internal approvals. Renders do not replace planning documentation and do not guarantee approval; their value is making scale, context and material intent easier to interpret.
Off-the-plan sales readiness
Developers use pre-construction renders across display suites, project websites, brochures, investor decks, agent presentations, digital campaigns and buyer information packs. The buyer insight is simple: People commit with more confidence when they can understand the intended experience of a home, not only its dimensions.
Reducing design uncertainty
Drawings show dimensions; photorealistic visuals let stakeholders assess room scale, ceiling height, natural light, sightlines, indoor-outdoor connection, furniture layouts, privacy, and the arrival and circulation experience while the design is still flexible. Material approval is far stronger when selections are reviewed in a full spatial setting rather than as isolated samples, because stone, timber, joinery, flooring, glazing and metalwork behave differently under simulated lighting and against adjacent finishes than they do on a sample board. The approved set then becomes a shared visual reference for developers, architects, interior designers, sales teams and builders, which reduces disagreement about façade expression, interior tone, material hierarchy and priority views.
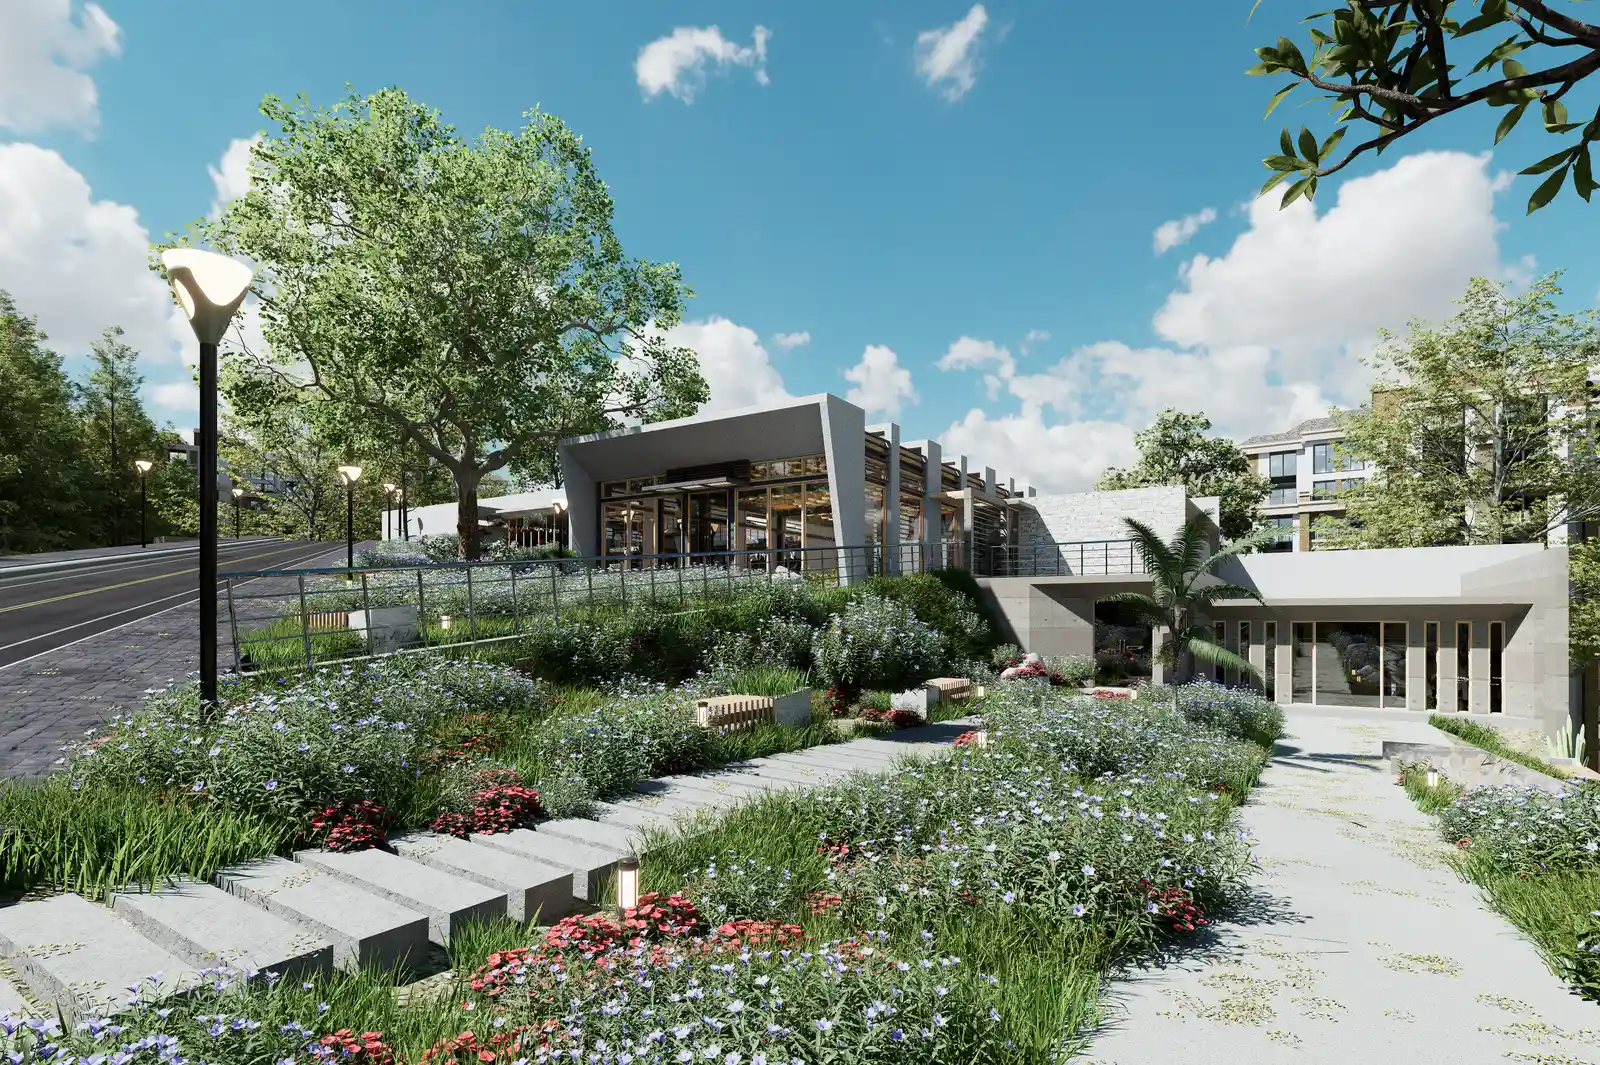
Where photorealistic rendering adds the most value
| Project type | Why rendering matters most |
|---|---|
| Premium residential | Bespoke design and high buyer expectations make accurate materiality, spatial quality and lifestyle essential to communicate |
| Townhouse and apartment developments | Off-the-plan sales depend on buyers understanding a project before the building exists |
| Heritage and context-sensitive projects | Local-context visuals show how contemporary work sits alongside existing streetscapes and neighbourhood character |
| Investor and partner presentations | Investors need a clear view of the proposal, target market and finished outcome to evaluate with confidence |
What photorealism actually means technically
Photorealism is not a visual style. It is the result of simulating light against measured surface properties, at correct scale, through a camera that matches human vision. A render is photorealistic when materials, light, geometry and camera all describe something physically possible. Remove any one of the four and the output is an illustration that happens to look sharp.
- Physically based materials: Each surface defined by measured properties, base colour, roughness, metalness and index of refraction, rather than by a colour swatch and a gloss slider. A physically based material responds differently at 9am and 5pm because real surfaces do. A painted-on material looks identical in every light, which is the most common tell.
- Real light data: Sun position derived from the site’s latitude, longitude, date and time, a sky model matched to the conditions represented, and colour temperature that moves with the hour, from roughly 5,500 K in direct midday sun to around 3,000 K before sunset. Geoscience Australia publishes a sun position calculator, so any claimed angle can be checked independently.
- Accurate glazing and reflection behaviour: Soda-lime glass has a refractive index of about 1.52, so reflectance rises sharply at grazing angles and falls near perpendicular. Under NCC 2022 and the NatHERS 7-star requirement, most new Victorian glazing is double glazed with a low-emissivity coating, which carries a slight tint and higher reflectance than clear glass. Clear glass in the render is not the specified window.
- Entourage that matches the site: Planting from the landscape schedule that grows in Melbourne, vehicles and people at Australian scale, and neighbouring built form modelled from survey rather than implied with grey blocks.
- Camera height and lens matching human viewpoint: Eye height of approximately 1.6 metres and a focal length in the 28 mm to 50 mm full-frame range. Anything wider exaggerates volume and makes setbacks look more generous.
What architectural 3D rendering Melbourne projects get wrong about scale
Scale errors are the least forgivable failure because they are the easiest to avoid. Architectural 3D rendering Melbourne teams rely on should be built from a dimensioned model, not traced over an image. Three checks catch most of it: A standard door leaf is 2,040 mm high, residential ceilings are typically 2,400 mm or 2,700 mm, and an Australian brick at 230 mm by 76 mm with a 10 mm mortar joint gives a 240 mm by 86 mm module. If the coursing does not reconcile against the door head, the model was eyeballed.
Key insight: Accuracy and attractiveness come from different work. Attractiveness comes from framing, composition and light; accuracy comes from the model, the material data and the geometry underneath. A supplier can deliver the first without the second, and the image looks excellent until someone measures something.
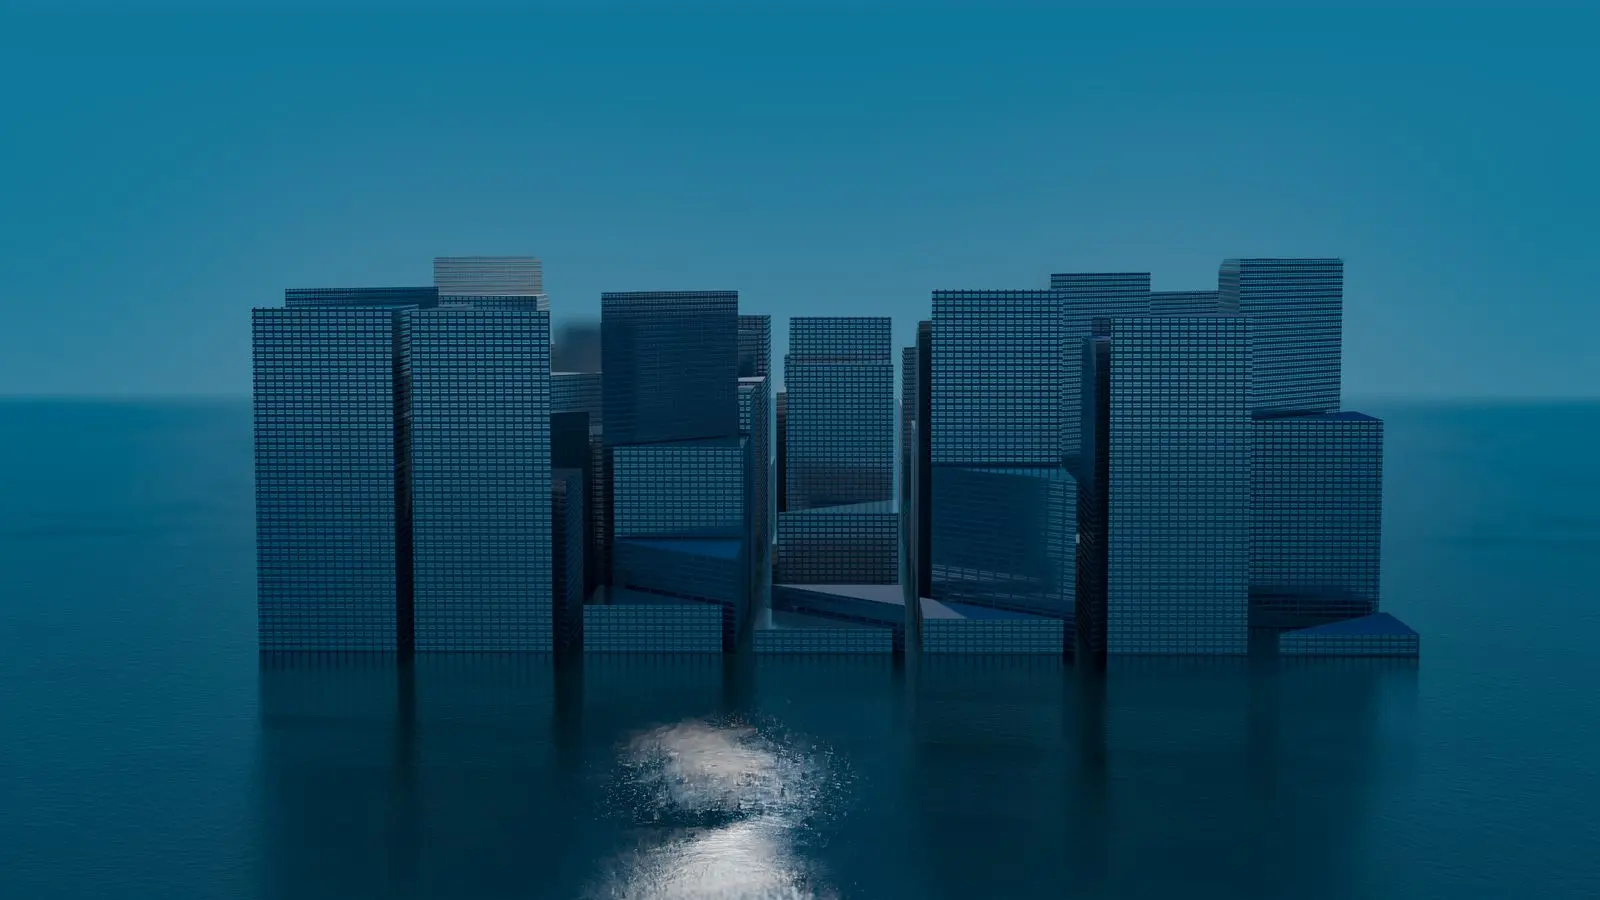
Why Melbourne light and orientation change the answer
Melbourne sits at roughly 37.8 degrees south, which produces a wide seasonal swing in sun angle. At solar noon the sun reaches approximately 75.6 degrees above the horizon at the December solstice, 52.2 degrees at the equinoxes and only 28.7 degrees at the June solstice. Across that 47-degree range the same façade, glazing and paving read as three different materials.
- High summer sun flatters everything: At 75 degrees the light is near vertical, so shading performs at its best, eaves throw their deepest shadow, and glare through west glazing is invisible.
- Low winter sun exposes the elevation: At 28.7 degrees the light rakes across the façade, revealing surface relief, joint lines, panel flatness and texture imperfections.
- Overcast is the honest test for colour: Diffuse light at around 6,500 K removes the warm cast direct sun adds. Many material disputes are simply a sample seen indoors compared against a render lit at 5pm.
The western sun problem
Between the equinoxes, roughly late September to late March, the Melbourne sun rises south of due east and sets south of due west, and in midsummer it does not set until after 8.30pm. At 5pm on a January afternoon it is still around 40 degrees above the horizon and swung well to the south-west. Any west or south-west facing glazing, alfresco area or living room takes direct low-angle sun for hours, and that is the light producing the glare, heat load and colour cast a finishes decision turns on. A set that never shows the west elevation in afternoon light has not tested the hardest condition on the site.
Key insight: A single midday render is a poor basis for a material decision. Before approving any finish, ask for the same camera at three conditions: Mid-morning, late afternoon on the western aspect, and a diffuse overcast pass. Where the material is expensive or long-lead, review it in DX Studio at full scale before the order is placed.
The failure modes that make a render misleading
A misleading render is rarely a deliberate lie. It is usually the output of a compressed programme, a library asset used because there was no time to build the real one, or a texture applied without checking how it repeats. Each failure mode below has a remedy you can request.
| Failure mode | What it looks like | What to ask for instead |
|---|---|---|
| Repeated tiled texture | The same knot, brick blemish or stone vein recurring at a fixed interval. A 2 metre texture on a 12 metre wall repeats six times | Randomised or scanned texture mapped at the real module, repeat interval stated, plus one 100 per cent crop so the repeat can be checked |
| Uniform material colour | Every brick, board and slab identical in tone, so the surface reads as printed vinyl rather than natural material | Batch variation modelled: A stated colour and tonal range, and for stone, photography of the actual slabs from the intended batch |
| Impossible lighting | Shadows the sun cannot produce, interiors lit with no visible source, dusk exteriors under daylight-blue skies, or one set of views sharing no single time of day | Sun position derived from site latitude, longitude, date and time, stated on the image, with every view in a set sharing one time stamp |
| Missing mortar and joint detail | Brickwork with no recessed joint, cladding with no shadow line, tiling with no grout. Real joints read as dark lines at distance and set the scale of the wall | Joints modelled as geometry at the specified width, so a 10 mm mortar joint on a 230 mm by 76 mm brick gives the correct 240 mm by 86 mm module, not painted into the texture |
| Borrowed entourage | Northern hemisphere trees, left-hand-drive vehicles, a street that is not the street, neighbours shown as grey blocks or omitted | Planting from the landscape schedule, neighbouring built form modelled from survey, and a dated site photograph behind any streetscape view |
| Hero-angle-only set | Every image from one flattering corner, wide lens, low camera, dusk. Nothing shows the service side, the boundary or the west elevation | A view schedule agreed before work starts that includes the awkward views: The west elevation in afternoon sun, the neighbour’s outlook, the entry at 1.6 metre eye height |
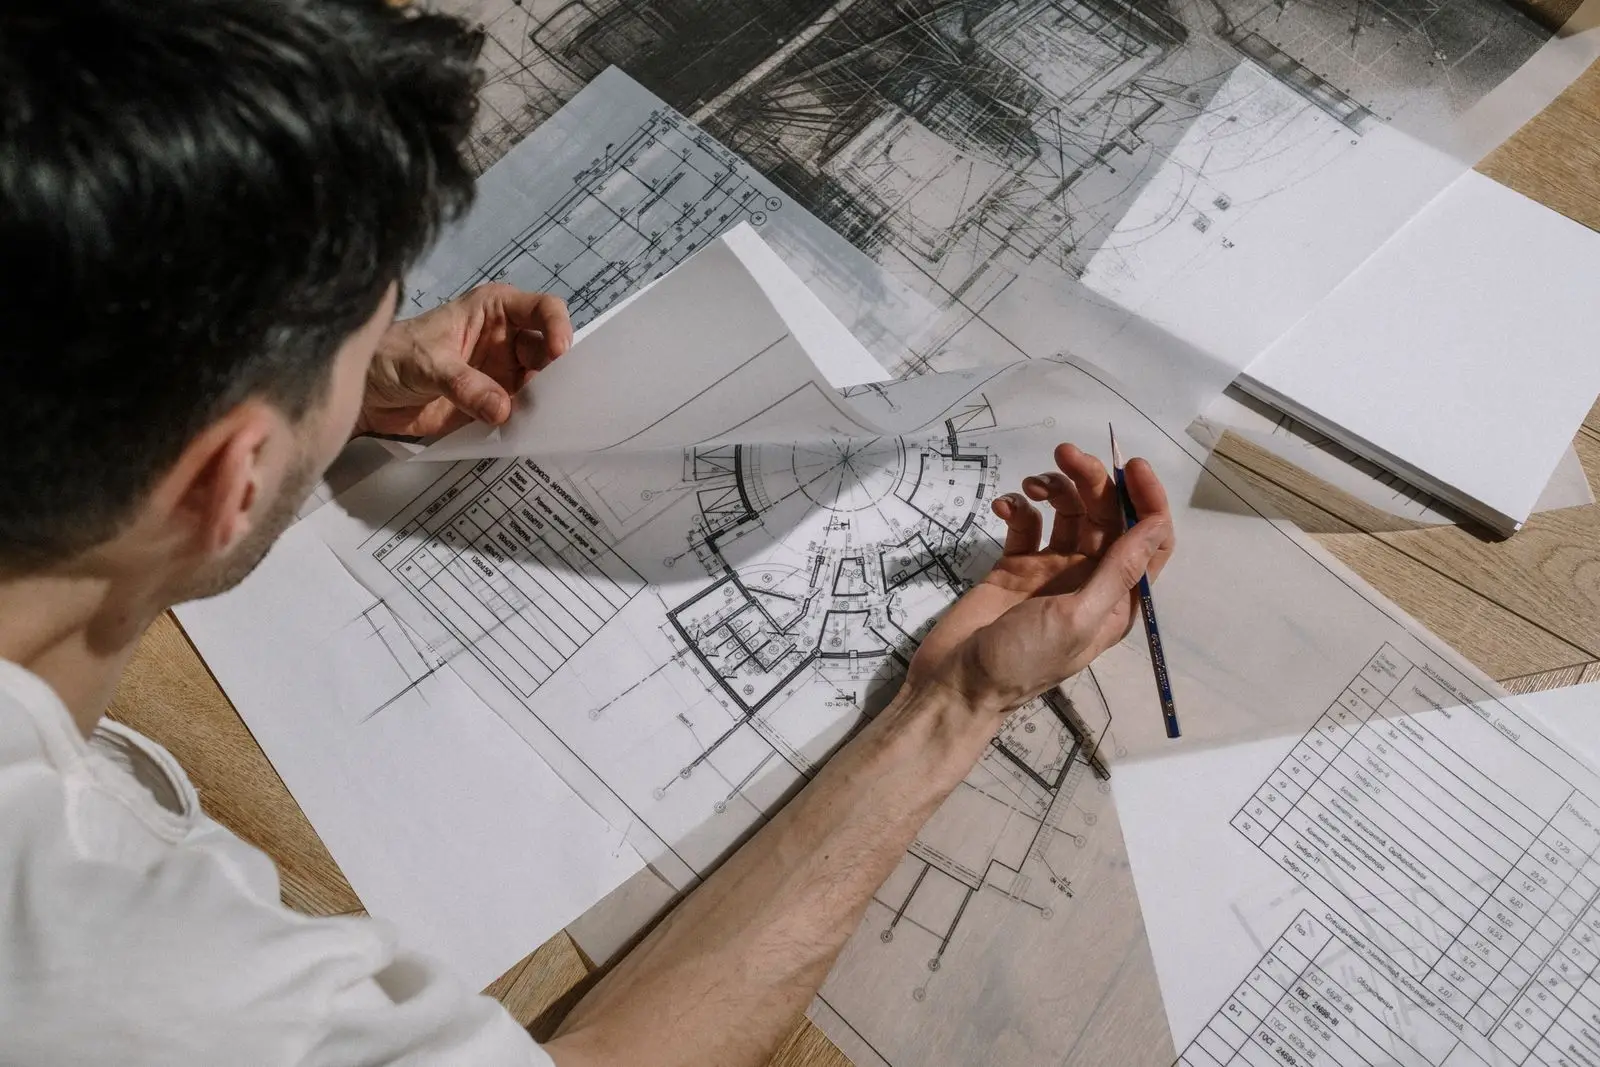
A practical checklist for judging photorealistic render quality
Photorealistic render quality can be assessed without specialist software. Apply these checks to the first view in a set, before the rest are produced, so any correction is made once rather than eight times.
- Ask what the model was built from: A coordinated model with a stated revision and ISO 19650 status code, or a dated drawing set. A vague answer means it will not survive the next design change.
- Request the camera schedule: Height, focal length and position for every view, in writing. This detects a raised or over-wide camera immediately.
- Request one untextured pass: A clay or ambient occlusion render of the same view. Detail that disappears there was painted on, not modelled.
- Ask for the same view at two times of day: Materials that were never physically defined break when the light changes.
- Zoom to 100 per cent on one material: Repeats, soft edges and missing joints are invisible at presentation size.
- Check one shadow against a known sun position: Compute the sun angle for the stated date and time, then confirm the shadow length is plausible for the object height.
- Separate confirmed from indicative in writing: Anything not locked is labelled when the image is issued, not explained afterwards.
- Agree the revision process first: Who reissues on a design change, on what turnaround, and whether superseded images are withdrawn.
Key insight: Photorealism should improve clarity, not manufacture an idealised image the project cannot deliver. An over-promised render damages buyer trust and creates variation pressure when the built reality falls short.
Where cheap work shows up
Low-cost packages save time in exactly the places this checklist examines: Library materials instead of specified ones, tiled textures instead of scanned ones, generic sky instead of computed sun, and a hero angle instead of a view schedule. The saving is real, and so is the cost of finding out after the finishes order is placed. For indicative market ranges, see what 3D rendering costs in Australia, and to assess a supplier, see choosing a 3D rendering company in Melbourne.
Scheduling and briefing the render set against the programme of works
Render quality is lost to the calendar more often than to skill. When a set is commissioned three weeks before a deadline, the first things cut are lighting calibration, material verification and revision cycles, which are precisely the activities that produce accuracy. The remedy is scheduling: The render set is planned as a sequence of dated deliverables inside the programme of works, not as a task that begins when someone remembers it.
- Back-schedule from the procurement lock dates: Every material review must land before the order date for that item. Stone, tapware, imported joinery and glazing carry the longest lead times, so their verification views are scheduled first, not last.
- Tie the view schedule to design milestones: Exterior views once massing, setbacks and façade material are settled. Interior views once the finishes schedule is issued. Producing them earlier guarantees a reissue.
- Show render activities on the Gantt chart with the critical path identified: Visual work sitting off the programme is invisible until it is late, and by then it is on the critical path without anyone having decided it should be.
- Report plan-versus-actual with regular status updates: A slipped design decision compresses the render window silently. Plan-versus-actual tracking makes that visible while there is still time to move the deadline or reduce scope deliberately.
What the developer brief must contain
A strong brief includes the project address and local context, architectural drawings, CAD files or a BIM model at a named revision, the intended use of the visuals, the target audience, the required views, the material and finish schedule with product codes, landscape and site information, lighting mood or time-of-day requirements, reference imagery, brand or campaign requirements, review milestones and final delivery formats. The clearer the brief, the fewer the revision cycles.
Key insight: Decisions resolved before tender or procurement cost nothing; the same change during construction is priced at the builder’s margin, without competitive leverage. An accurate render earns its place by moving material and spatial decisions into the period where changing your mind is free.
Process mistakes developers should avoid
- Producing renders before the design is defined: Every unresolved element becomes a reissue.
- Failing to update visuals after a major design change: A superseded image circulating in a sales suite is a liability, not an asset.
- Selecting views for aesthetics rather than decision value: The awkward view is usually the one that settles something.
- Overstating materials, views or finishes that are not confirmed: Label indicative content at the point of issue.
- Treating visualisation as a marketing deliverable only: It excludes the architects and consultants whose review makes it accurate.
- Leaving rendering until after key procurement decisions: The value drops sharply once the orders are placed.
How photorealistic rendering connects to BIM and project control
Rendering becomes more valuable when it is connected to live project information rather than developed in isolation, supporting design development reviews, BIM coordination discussions, material approvals, client workshops, supplier review and pre-construction sign-off.
DX Living is a project control specialist firm combining project planning with visualisation to de-risk projects before construction. The visual output and the programme come from the same information: A master plan programme, a programme of works with a written methodology, a Gantt chart, a resource-loaded histogram and plan-versus-actual tracking on one side, and 3D, 4D, interactive models, renders, flythroughs and immersive review on the other, connected through BIM. Materials are reviewed and approved in VR before ordering through DX Studio, and delivered work is shown in the DX Living project collection. DX Living is not a builder, an architecture practice or an interior design studio, and visualisation does not replace documentation, engineering design, permits, NatHERS assessment or formal client approvals.
Conclusion
Photorealistic rendering Melbourne developers rely on earns its cost when it is accurate enough to be relied on, and accuracy is a set of checkable properties rather than an impression: Physically based materials, computed sun position for a site at 37.8 degrees south, correct scale against real modules, glazing that behaves like the specified glazing, local entourage, and a camera at human height. Ask for the untextured pass, the second time of day, the 100 per cent crop and the west elevation in afternoon sun, then schedule the set against the programme of works so quality never absorbs a compressed deadline.
Ready to have a render set checked before you commit to it? Contact DX Living to discuss verification, immersive review and programme-linked visual delivery.
FAQs
Q: What makes a render photorealistic rather than just attractive?
A: Four things together: Physically based materials defined by measured properties rather than a colour and a gloss value, light computed from a real sun position for the site’s latitude, longitude, date and time, geometry at verified scale, and a camera at roughly 1.6 metre eye height with a 28 mm to 50 mm equivalent lens. Attractiveness comes from framing and composition and can be delivered without any of the four.
Q: How many views and times of day should a photorealistic rendering Melbourne set include?
A: At minimum, each key aspect at two contrasting conditions plus one diffuse overcast pass for colour assessment. Melbourne’s solar altitude at noon ranges from about 28.7 degrees in June to 75.6 degrees in December, so a single midday image shows the building at its most flattering. The western aspect in late afternoon sun is the condition most often omitted and the one most likely to change a material decision.
Q: Can photorealistic renders support planning applications?
A: They help stakeholders understand the proposal, the streetscape relationship and visual intent, but they do not replace formal planning documentation and do not guarantee approval. A visual submitted alongside an application should state camera height, survey source and the date and time the sun position was computed for.
Q: Does a photorealistic render commit the project to the materials shown?
A: Treat it as though it might. Anyone who sees an image assumes it represents the intent, so every element not yet locked must be labelled indicative at the point of issue rather than clarified later. Keep a written schedule separating confirmed selections from provisional ones, and reissue the image when a provisional item is confirmed as something different.
Q: How does architectural 3D rendering Melbourne handle glazing specified under NCC 2022?
A: By modelling the specified unit rather than generic glass. Meeting the NatHERS 7-star requirement usually means double glazing with a low-emissivity coating, which has a slight tint and higher reflectance than clear glass, and often external shading that changes the elevation. A render showing clear single glazing on a compliant Victorian home is showing a window that will not be installed.
Q: How are photorealistic renders different from BIM models?
A: A BIM model carries structured project information for coordination and delivery. A render translates that information into a realistic visual for decision-making and communication. The two are strongest together: The model supplies verified geometry and specification, and the render makes the consequences legible to people who do not read models.
Q: How much lead time does a quality render set need?
A: Enough for material verification and at least two review cycles after the first view is approved, back-scheduled from the procurement lock dates for the longest-lead items rather than from the presentation date. Placing render activities on the Gantt chart with plan-versus-actual status updates keeps the window visible, so a slipping design decision does not quietly compress the only stage where accuracy is produced.
Q: What drives photorealistic render quality up in price?
A: Scanned or measured materials instead of library assets, neighbouring context modelled from survey, computed sun studies at multiple times, modelled joints and coursing rather than painted textures, and a genuine revision allowance. DX Living does not publish rates; for indicative market ranges from public sources, see the guide to 3D rendering cost in Australia.
References
- Australian Building Codes Board. National Construction Code 2022.
- Nationwide House Energy Rating Scheme. NatHERS.
- YourHome. Orientation.
- YourHome. Glazing.
- YourHome. Shading.
- Geoscience Australia. Compute sun and moon azimuth and elevation.
- Bureau of Meteorology. Climate statistics for Australian locations, Melbourne.
- Sustainability Victoria. Energy efficient home design.
- Victorian Building Authority. Building regulation in Victoria.
- City of Melbourne. Development activity model: A visual representation of major development across the local government area.
- ISO 19650-1:2018. Organisation and digitisation of information about buildings and civil engineering works, information management using BIM. Part 1: Concepts and principles.
- ISO 19650-2:2018. Information management using BIM. Part 2: Delivery phase of the assets.
- NATSPEC. National BIM Guide.
- buildingSMART International. openBIM (IFC, IDS, BCF) for model coordination and issue management.
Recent Articles
The pre-contract checklist: 18 things to confirm before you sign with a builder
Planning a home cinema in Australia: What drives the cost and how to review it in VR first